Inside trim & bleed fill
Outer trim
After album spreads or pages are printed, the edges are trimmed by the lab before being placed into the album. Most professional albums are printed in full spreads and are only trimmed on the outer edges of the spread. SmartAlbums displays the spreads as they will appear in the printed album, which means that part of the spread that gets exported is not displayed in the main view of SmartAlbums.


Note: For demonstration purposes, all examples in this article use a 5x5 inch album (10x5 spreads) with a 0.25 inch trim, and therefore the trimming effects are exaggerated. Larger album sizes with lesser trim amounts will result in less dramatic trimming effects.
Inside trim
Most albums are printed spread by spread; when the spreads get trimmed, the outer edge is cut, but the inside remains intact. However, sometimes albums are printed page by page and trimmed on all four edges of every single page. In this case, not only do you lose some of the images on the outer edges, but also on the inside as well. Note that usually when labs print page by page, they request the album files to be submitted to them as single pages. You can split your designed spreads into pages by checking the box Export as single pages at the export stage.
Note: When an album has an inner trim (when single pages are trimmed on all four sides, including the inner edge), templates containing frames crossing the middle of the album are disabled. The only exception are designs that contain a single image. That is why every screenshot example in this article is of a design with a single image spanning across the entire spread.


As you can see, the inside trim may cause issues when important elements are near the middle of the album.
Inside bleed fill
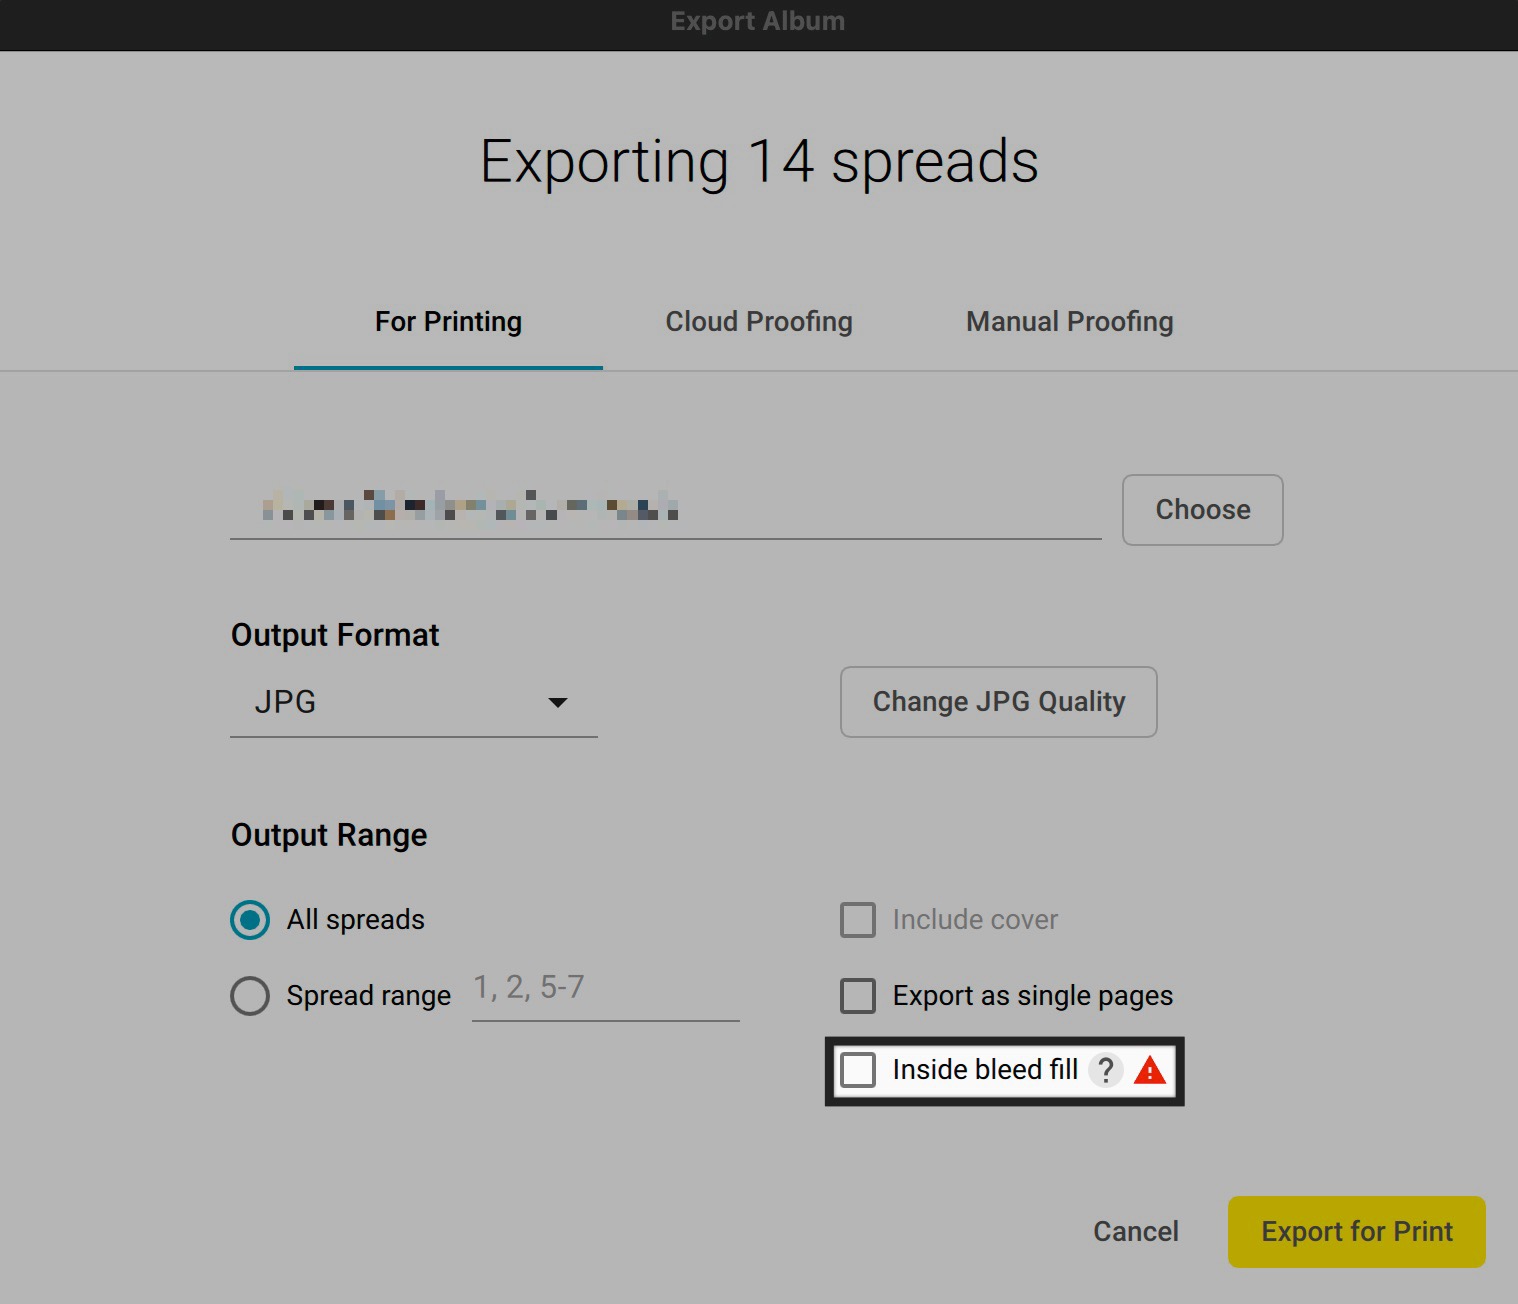
To combat the issue of losing the middle part of the spread image, SmartAlbums offers an option to include “Inside bleed fill”. Inside bleed fill works by splitting a full spread into two single pages and extending the inside edge of each page. The amount extended depends on the specified inside trim amount. However, to make sure that the exported files are sized correctly, the extended area is not simply added to the inside edge, but the entire page is resized in order to fit the specifications of the album company or your custom size.
Note: "Inside bleed fill" affects exported spreads only when an image is crossing the middle of the spread. When exported, spreads that contain no image in the middle will look the same whether or not the "Inside bleed fill" option is selected; SmartAlbums will always add extra blank space to the inside trim area.


Where to specify inside bleed fill
If a lab recommends exporting with “Inside bleed fill”, the option will be automatically chosen upon exporting the album.
You can also choose to specify how much inside trim your album has when setting up your custom album.

Note: Specifying that an album has "inside trim" during project setup is not the same as choosing to include "inside bleed fill" at export. You can specify the inside trim without choosing to export with inside bleed fill.
Warning! Consult your print lab before printing designs with inside bleed fill. If the amount trimmed on the inside is less than was specified in SmartAlbums, the middle of the album will contain repeating image information, resulting in an aesthetically displeasing look.
Disabling inside bleed fill during export
If you choose to disable the Inside Bleed Fill option, your spreads can still be exported from SmartAlbums. However, note that images that cross the middle gutter line on your spreads may be zoomed to fit the frame during export when this option is disabled. This is because SmartAlbums, by default, accounts for the inside bleed during the design process and displays the spread as it would look like after printing with this option enabled. When an image crosses the middle gutter line, SmartAlbums assumes that the Inside Bleed Fill option will be enabled. When this option is disabled, the software will zoom the image to fit the frame to account for that area and keep the frame the same size:
Spread in SmartAlbums
Note that the main spread view will show you how the spread will appear in the printed album if the Inside bleed fill option is enabled:

Export with inside bleed fill enabled
 Export with inside bleed fill disabled
 Export with inside bleed fill disabled
Notice that the image frame size on the spread is the same with the Inside bleed fill disabled and with the Inside bleed fill enabled above. However, the image has been zoomed to fit the frame, which can be seen by viewing the top of the grooms head:

While the change is small in this example, to ensure that your spread is exported as you intend and to help prevent any issues with your exported file in cases where a file is crossing the middle gutter line, we can suggest keeping the Inside Bleed Fill option enabled during export. However, if you choose to disable this option, adjusting the image within the frame on your spread or using another layout will help to ensure that no important elements are lost during export.
Note: SmartAlbums, by default, will not display the layouts that cross the middle gutter line when inside trim is added to an album to help prevent any unwanted cutting during printing.